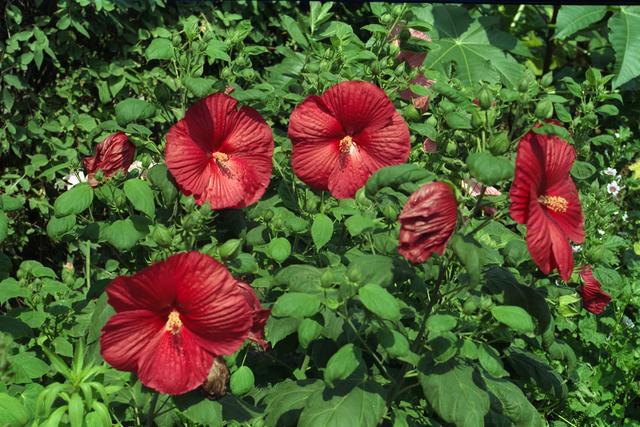
Exercise 1
- This is the starting image:
- Click CSpace>YCbCr.
The color space will displayed in the second pane of the status bar.
- Press 1 key on numeric keypad to make Y channel inactive.
The status can be read in the third pane of the status bar.
- Click Mask(Off)>"Set F2, F3 to Mask by Color."
This will be displayed as the last item on the menu bar.
- Left click cursor on a typical flower color and press Enter key.
This will place the color into the top of the Queue.
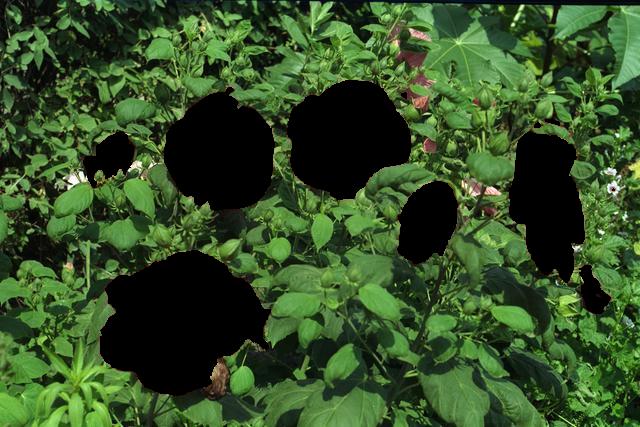
- Press F2 and F3 until the unmasked regions (shown in black) most closely resemble those in the image below.
- Since the above result probably won't be perfect, you may need to manually touch up the mask.
- Click Mask( On)>"Set F2/F3 to Clear/Set Mask."
- Press P key and cursor will become circular.
Enlarge/shrink cursor by holding down numeric keypad +/- keys.
- Painting with right mouse button down will produce unmasked areas (shown in black), whereas painting with middle button down will mask areas (shown normal).
Press S key to toggle black view of unmasked areas on and off.
Touch up the mask so that it looks like the image below.
- Click CSpace>HSV.
- Press numeric keypad keys 5 and 9 so that only the H channel is active (displayed in third pane of status bar).
- Click Basic>"Set F2/F3 to Add/Subtract a Constant."
- Get rid of the "black" by pressing the S key so you can see your results.
Paint the operation onto the unmasked flowers, using right and middle mouse buttons.
Multiple strokes will be needed, and fine control can be achieved by holding down Ctrl key.
If you screw up, just press F1 to refresh and try again.
Refresh will not destroy the mask or change the color space and channel settings.
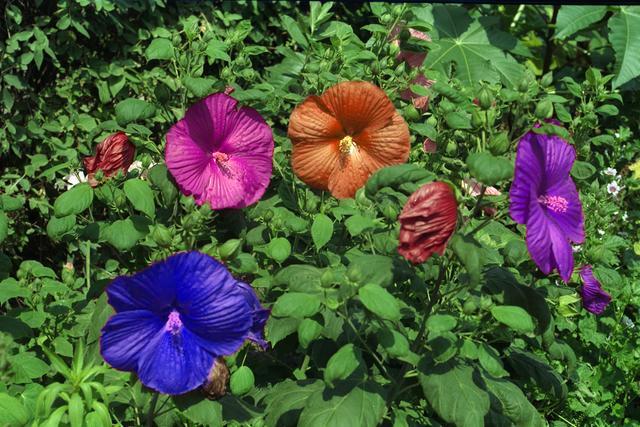
Finished!